Django+Vite の環境構築
Python の人気フレームワーク Django と数年前から注目されている Vite の組み合わせで環境構築を行った。
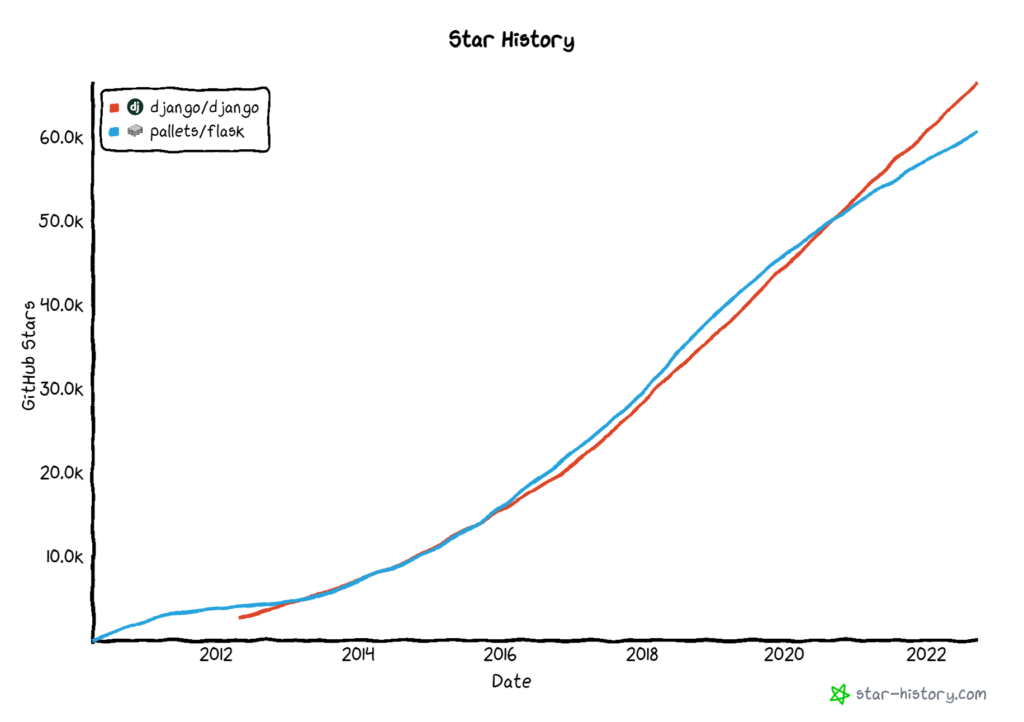
Django と Flask のスター数の遷移の違い

Vite の環境構築
Node.js の環境構築についてはこちらを参照。
Vite をインストール&構築する。
npm create vite@latest
# React+TypeScriptを選択する

npm install
npm run dev
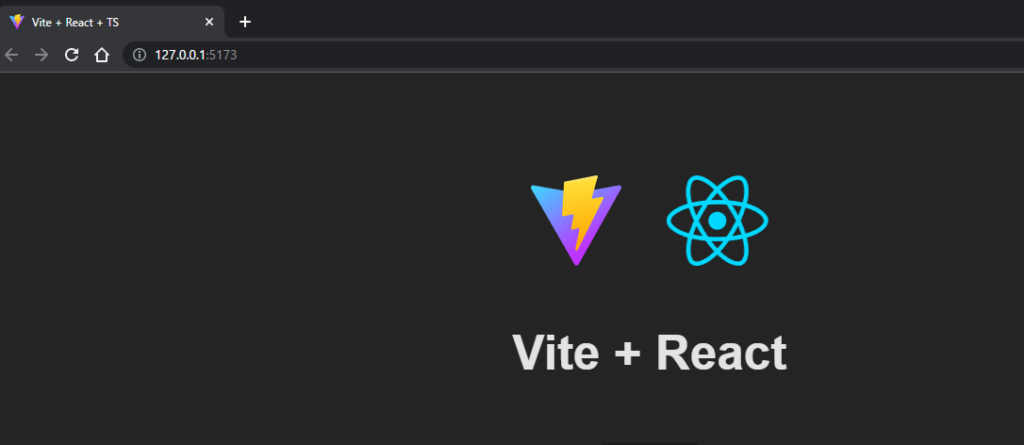
localhost:5173 へアクセスし、以下のような画面が確認できた。

今回は static フォルダを作成し、src フォルダを格納する。
mkdir static
mv src static/
vite.config.ts を以下のように変更する。設定値の意味はこちらを参照してくれ。
import { defineConfig } from "vite";
import react from "@vitejs/plugin-react";

import { createRequire } from "module";
const require = createRequire(import.meta.url);
const { resolve } = require("path");

// https://vitejs.dev/config/
export default defineConfig({
  plugins: [react()],
  root: resolve("./static/src"),
  base: "/static/",
  server: {
    host: "localhost",
    port: 3000,
    open: false,
    watch: {
      usePolling: true,
      disableGlobbing: false,
    },
  },
  resolve: {
    extensions: [".js", ".json"],
  },
  build: {
    outDir: resolve("./static/dist"),
    assetsDir: "",
    manifest: true,
    emptyOutDir: true,
    rollupOptions: {
      input: {
        main: resolve("./static/src/main.tsx"),
      },
      output: {
        chunkFileNames: undefined,
      },
    },
  },
});
Django の環境構築
Python の環境構築についてはこちらを参照。
いつもの呪文。
virtualenv.exe ./venv/django-vite-example
source ./venv/django-vite-example/Scripts/activate
mkdir django-vite-example
cd django-vite-example
pip で Django, django-vite をインストールする。
pip install django
pip install django-vite
Django のプロジェクトを作成する。通常であれば app を作成するが、今回は最小構成とする。
django-admin.exe startproject .
python manage.py makemigrations
python manage.py migrate
settings.py に以下の設定を記載する。
# --- 省略 --- #
INSTALLED_APPS = [
    # --- 省略 --- #
    "django_vite",
]

# --- 省略 --- #
# Static files (CSS, JavaScript, Images)
# https://docs.djangoproject.com/en/4.1/howto/static-files/

STATIC_URL = "/static/"

# Where ViteJS assets are built.
DJANGO_VITE_ASSETS_PATH = BASE_DIR / "static" / "dist"

# If use HMR or not.
DJANGO_VITE_DEV_MODE = DEBUG

# Name of static files folder (after called python manage.py collectstatic)
STATIC_ROOT = BASE_DIR / "collectedstatic"

# Include DJANGO_VITE_ASSETS_PATH into STATICFILES_DIRS to be copied inside
# when run command python manage.py collectstatic
STATICFILES_DIRS = [DJANGO_VITE_ASSETS_PATH]

# --- 省略 --- #
index.html を作成し、以下のように実装する。
{% load django_vite %}

<!doctype html>
<html lang="en">
  <head>
    <meta charset="UTF-8" />
    <link rel="icon" type="image/svg+xml" href="/vite.svg" />
    <meta name="viewport" content="width=device-width, initial-scale=1.0" />
    <script type="module">
      import RefreshRuntime from "http://localhost:3000/@react-refresh";
      RefreshRuntime.injectIntoGlobalHook(window);
      window.$RefreshReg$ = () => {};
      window.$RefreshSig$ = () => type => type;
      window.__vite_plugin_react_preamble_installed__ = true;
    </script>
    {% vite_hmr_client %}

    <title>Vite + React + TS {{hello}}</title>
  </head>

  <body>
    <div id="root"></div>
    {% vite_asset 'main.tsx' %}
    <!-- <script type="module" src="main.tsx"></script> -->
  </body>
</html>
以上で一通りのセットアップは完了した。
動作確認
# Django起動
python manage.py runserver

# vite起動
vite run dev
ブラウザを起動すると確認できる。ホットリロードも機能している。
(Chakura UI についても試した。)

Django の初学者向け本 https://amzn.to/3rs0T7v